
|
"I once thought I could save the world... now look at it"
— Spoilers for Deus Ex: Mankind Divided follow!
|
|
M15: Securing the Convention Centre is the 15th main mission in Deus Ex: Mankind Divided, and the first one to take place in London. Adam Jensen flies with TF29 to the Apex Centre to try and stop Marchenko's, and therefore the Illuminati conspirators', plan.
Summary
Objectives & XP Rewards
| Objective | Getting Things Done | Ghost | Smooth Operator |
|---|---|---|---|
| Get to Slater's Office | 1950 | 200 | 200 |
| Activate the Security Override Switch | 1950 | 200 | 200 |
| Neutralize the Guards | 1000 | 200 | 200 |
| Find the Keycard to Catering | 1950 | 200 | 200 |
| Investigate the Catering Area | 1950 | 200 | 200 |
Tablet Collector
Primary Objectives
Meet Liam Slater in the C.S.O.

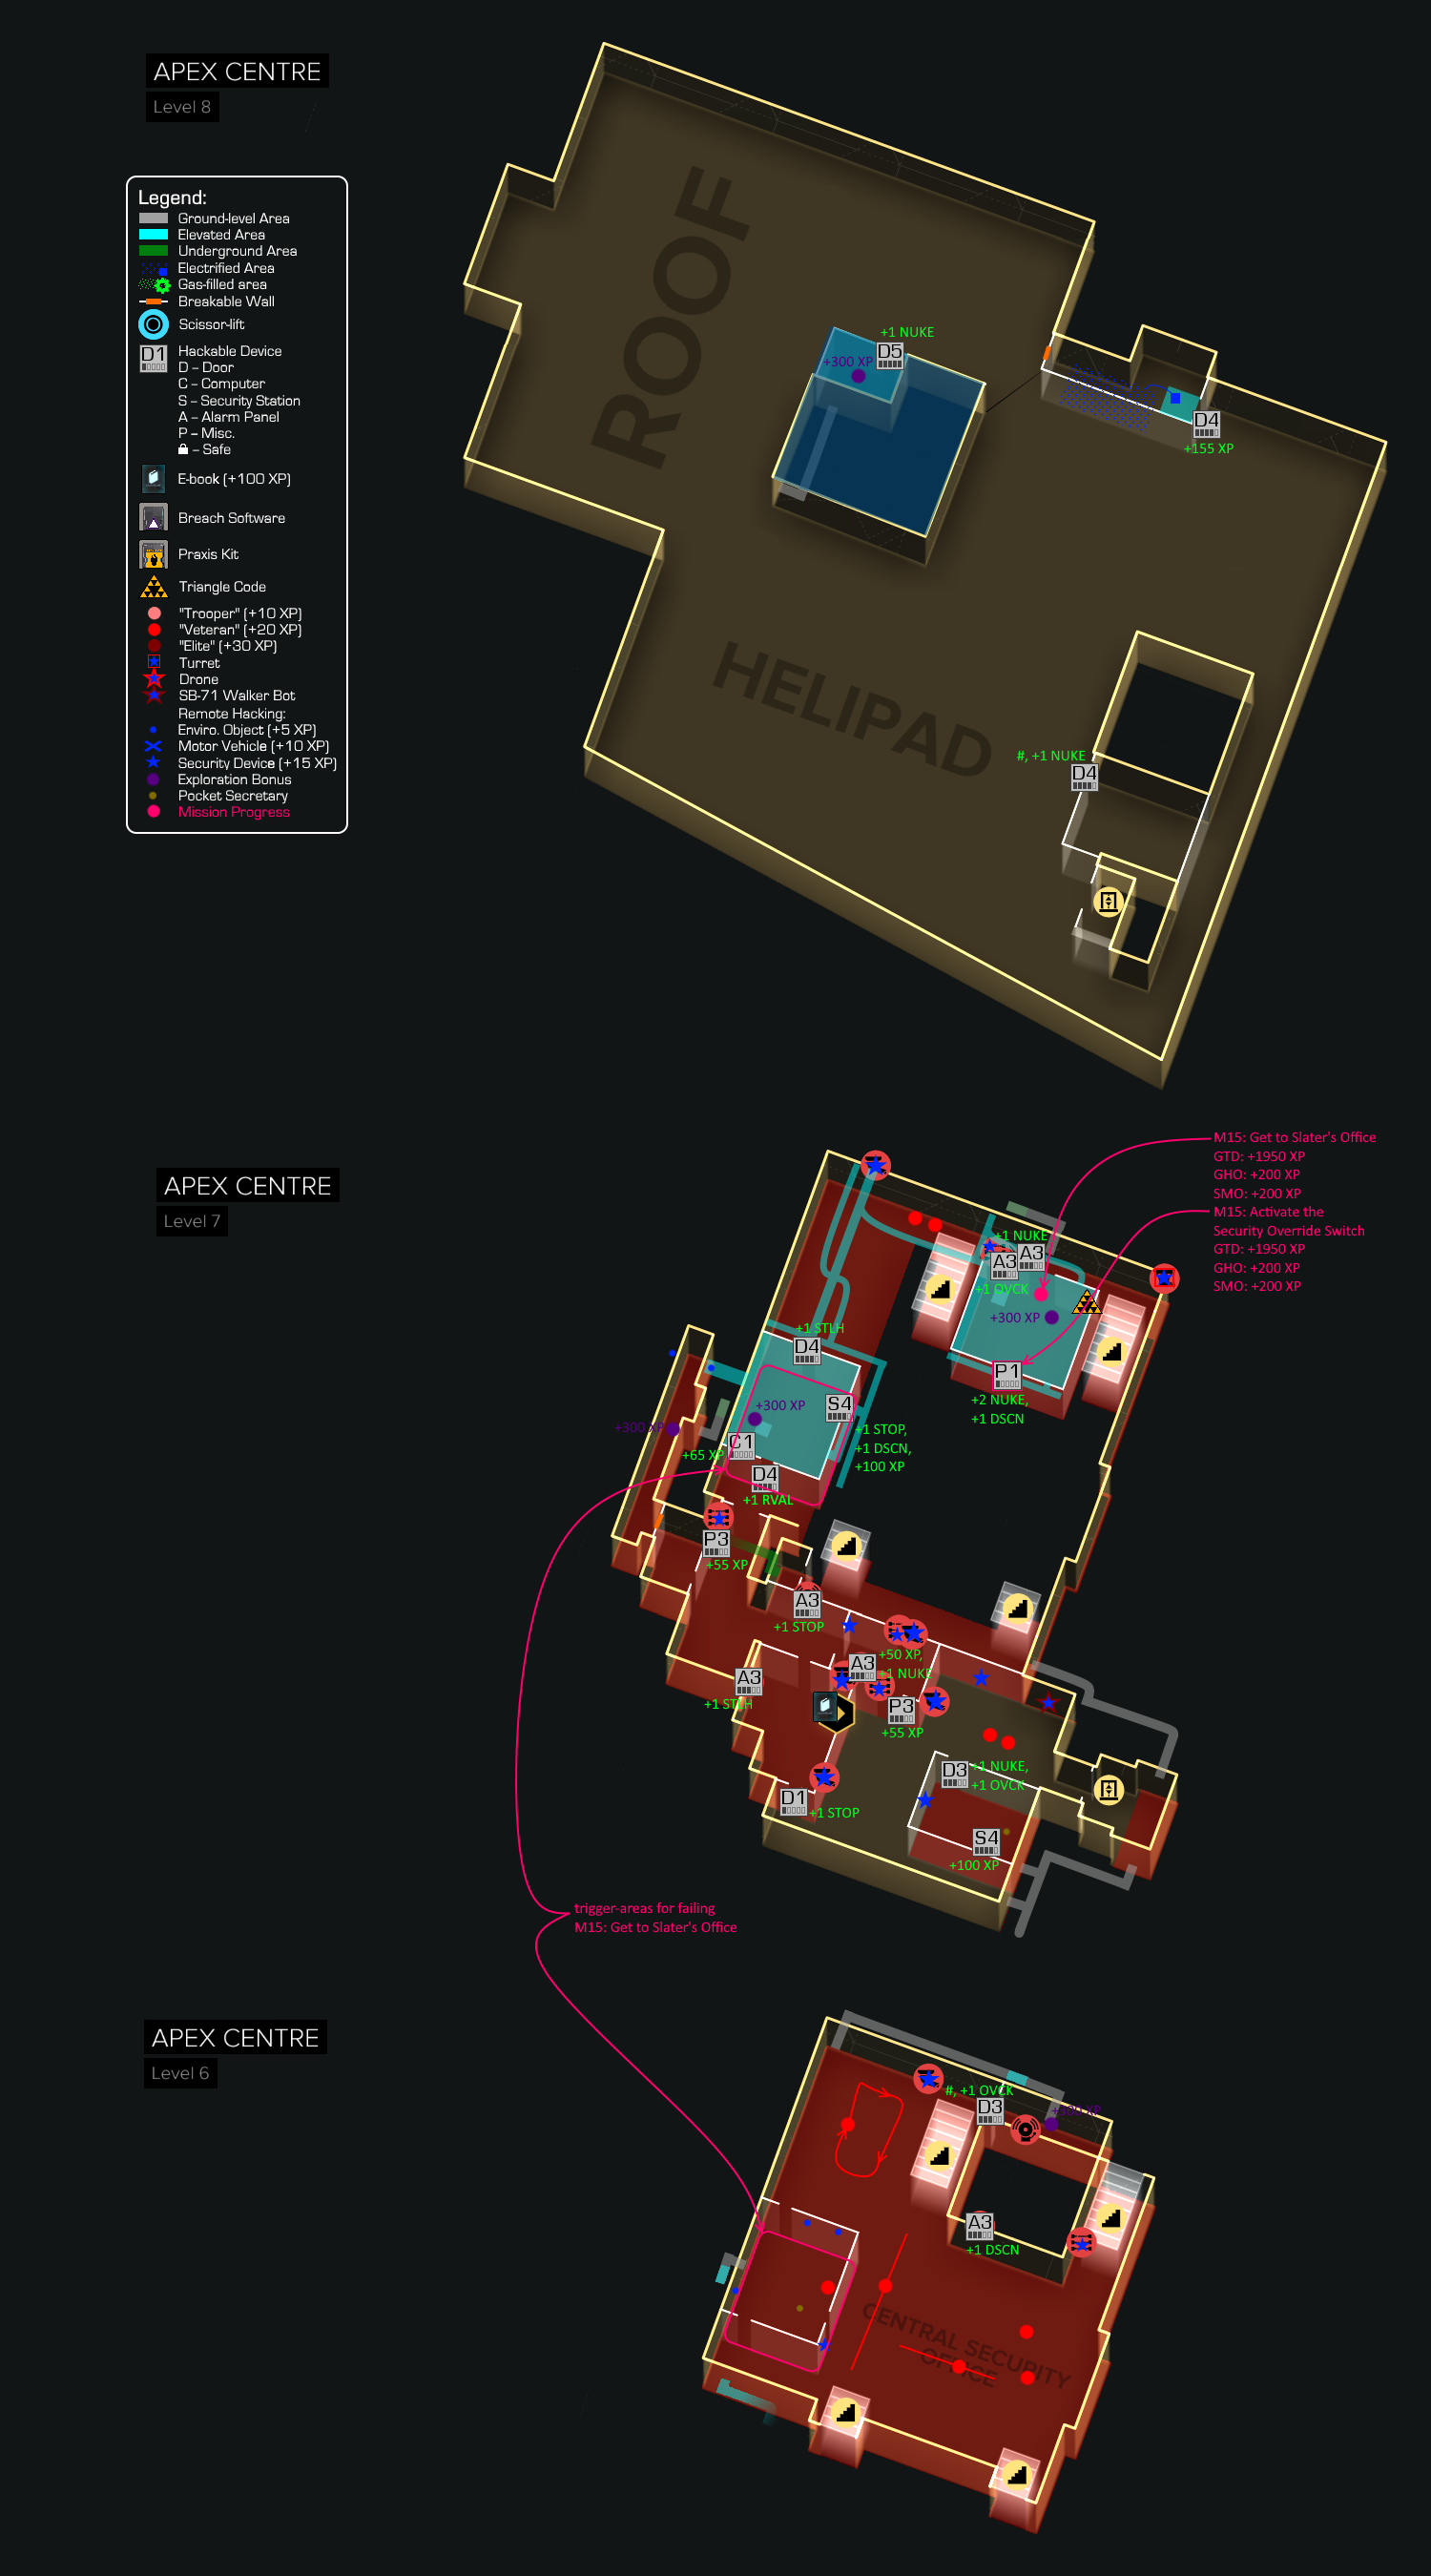
Apex Center roof and CSO
In London, you will meet and briefly talk with Nathaniel Brown, who refuses to cancel the event regardless of what you say, so Jim Miller decides that TF29 needs to do their own sweep. Brown agrees. He will then tell Jensen to work with Tarvos Security to make sure everything is in order. The roof area around the helipad can be explored for minor loot. Make your way to the elevator and head down to meet with Liam Slater, the one in charge of convention security. Jensen will contact Alex to keep her up to date, but Janus will respond instead, saying the UN delegates are of the utmost importance as the Human Restoration Act cannot pass, to which Alex agrees. You will then reach the security level.
There is a vent behind some vending machines that can lead you into the next area or the security room. For a stealth approach, go into the latter and shut off everything you can. Go talk to the guy behind the window where Jensen starts to have a suspicion something is not right. You can choose to outright attack them or decide to be more discreet (trick or back off result in the same thing, though the first will make the guard behind the window walk off). Jensen will then notify Miller about his suspicions and Duncan MacReady points out similar thoughts as nobody from Tarvos Security on his end have contacted him yet. Miller then tells Jensen to get to Liam Slater's office to see what is going on.
Get to Slater’s Office
If you hacked the security terminal earlier, you will have to go back and turn off the 2 cameras that turned back on if you want to take out the guards in the front without alarms going off. As MacReady can not move any further into the building due to being locked out, Jensen has to get to Slater’s office to override the security shutdown to let the rest of the team in.
Activate the Security Override Switch
If you do some exploring in the area, you will confirm your suspicions when you find dead Tarvos Security guards and gold masks in some of the rooms, which will activate this part of the mission. Get to Slater’s office and use the code 5359 on the panel. Once overridden, you will see Brown pop up on screen as he talks a bit in the reception hall before Jensen notices the terrorists are slipping in through a back door near the catering area.
Find the Keycard to Catering

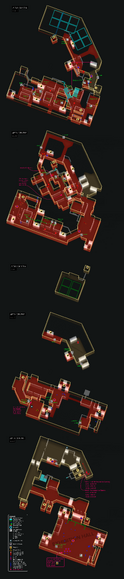
Annotated map of the Apex Centre showing objectives for the final three missions. The northeastern parts of the levels constitute the reception area.
Now get back to the elevator and head to the reception hall. Miller will tell Jensen to take out all the reception hall guards quietly, and find the keycard to access the back area.
If you do not care to take out all the guards, there are 2 ways to find a keycard:
- On the guard using the restroom. He may not be in the restroom if you triggered his location though. Instead, he will walk over and station himself near the exhibition hall's doors.
- If you have the klipsringer jump mod, travel in the vents that connect the restrooms to jump up into an area of the ducts where you hear 2 guards talking and move around until you are near a damaged vent opening and you will see a keycard.
As soon as you get the keycard, MacReady will be out of commission for a little while due to tripwires in a stairwell.
Quietly Neutralize All the Guards (secondary)
Taking out the guards is optional, but if you do not take them all out, an alarm will be triggered later. If you are going for the Foxiest of the Hounds achievement, take them all out quietly.
General tips
- Mind the cameras and guests watching. As long as the guests do not see you do a takedown, or the cameras do not spot a body, you will be fine.
- Some reason, guests do not freak out if a guard suddenly goes limp and falls over from a tranquilizer, so use that to your advantage.
- Naturally, other guards will not react so well if they spot a body and will sound the alarm and attack.
- Do not drag bodies if no other guard is in the vicinity in the unrestricted areas, as guests will then decide you are acting suspicious and panic.
- Perform takedowns from cover, so the guards will be dragged out of sight instantly. Make sure the guests don't see you doing this, unless you are taking them out when you are invisible.
List of guards
- Guarding a door as you enter the reception area from the lift. There are two civilians and a camera in the area, so wait until the civilians leave and the camera isn't looking before acting. Hack the door and drag him inside, or the camera will see the body. Inside the room you there is a vent that gives access to the next area.
- As you travel through the vent, do not be tempted to open the first vent you come to. If the guard is there, he will be alerted. This guard walks a route from near the vent, past the next guard and through some double doors. Wait until he's passed the third guard and gone through the doors.
- The third guard is stationary, guarding some double doors as you exit the vent. Opening the doors will alert him, so go into stealth before opening the doors and wait until he comes to investigate. Once taken care of, you can take out guard no. 2 in the next area (through the doors to the left)
- Backtrack and go down the stairs. A guard will be sitting on a box, and occasionally get up to stare at the wall. You can easily take him down by creeping right up to him.
- Go through the doors and take a left to find the fifth guard.
- If you go back upstairs and head left, you'll come to a locked door. Hack it and go through to a small balcony, where you look down at the door to the catering area (your goal, once you have acquired the key card). Two guards are talking outside the door. Wait till they split up. One walks toward you, so don't get spotted. The other walks to the right and pauses. You can easily take him out the a silenced sniper rifle.
- The guard who was walking toward you has a long patrol route, going up and down stairs. Wait for a convenient time and place to take him out.
- Go down two levels via the stairs and you will see one guard and a camera guarding the restricted are near where the DJ is playing. Wait for him to walk up the stairs and turn around before taking him out.
- The next guard is upstairs from the DJ, patrolling the big SAFE HARBOR sign. Facing the sign, don't take him out on the left (near the S). Panic will ensue. Wait till he goes to the right (the R), get behind him and take him out. Most of the time, no-one will notice, but occasionally a civilian will become suspicious and may panic.
- Turn around and look down to the lower level. There is a guard near a sofa outside the men's toilets. Get behind that sofa and take him out from cover. Most of the time there is a very annoying civilian nearby who will panic if you don't act from cover, and who never seems to leave. Occasionally he's not there.
- The final guard is the guy with the key-card you need. He's easily distinguishable because he's not wearing a cap and is partially bald. You can take him out when he goes into the toilet (the guys in the adjoining cubicles never seem to notice) or when he's at the other end of his patrol route. If you do it there, do it from cover.
This part of the game has been reported to be buggy. Sometimes, the count of guards you've taken out isn't accurate, and also you do not get Ghost even when you absolutely should. The latter may be related to the bug caused by loading a saved game after dragging a body.[1]
Investigate the Catering Area
Make your way to the secured door and head through and you will find out you can not get a hold of Miller, but MacReady can read you. Continue through towards the marker. If you did not grab Damocles’ Sword during G.A.R.M., this is the area to grab it if you want to use it in the final fight. It will be in the room past the catering area (around the corner), in a box under a desk. Enter the catering area and a cutscene will play out. Now you have a hard choice to make...
Alternative: Alarm Scenario
If you set off the alarm inside the convention center, Marchenko will be alerted, a cutscene will play, and the game will directly proceed to the next mission, without requiring you to obtain the keycard if you haven't done so already. If this happens, you may either head directly to Marchenko to complete M16: Stopping Marchenko or instead head to the Catering Area to find Miller. If you choose to confront Marchenko, it will be no longer be possible to attain the He's [Not] Dead, Jim achievement. Furthermore, if you choose to confront Marchenko and then take the hidden route to the delegates that bypasses the catering area, Alex Vega will announce the fate of Miller.
Story items
The following story items are associated with this mission.
| Story Item |
Acquisition |
Use | |
|---|---|---|---|
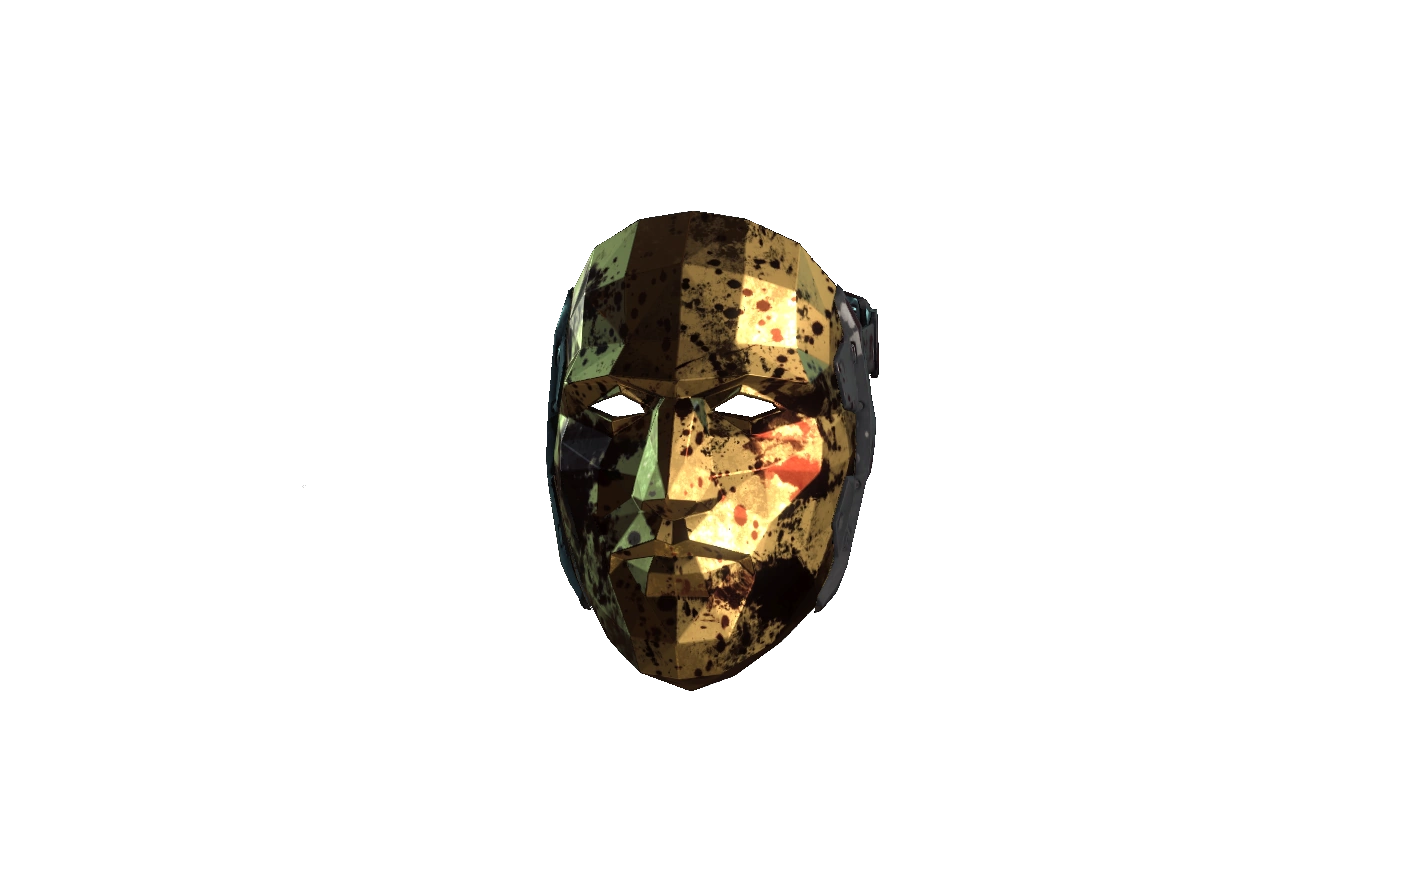
|
Gold Mask | In the room with the Liam Slater impersonator. | — |
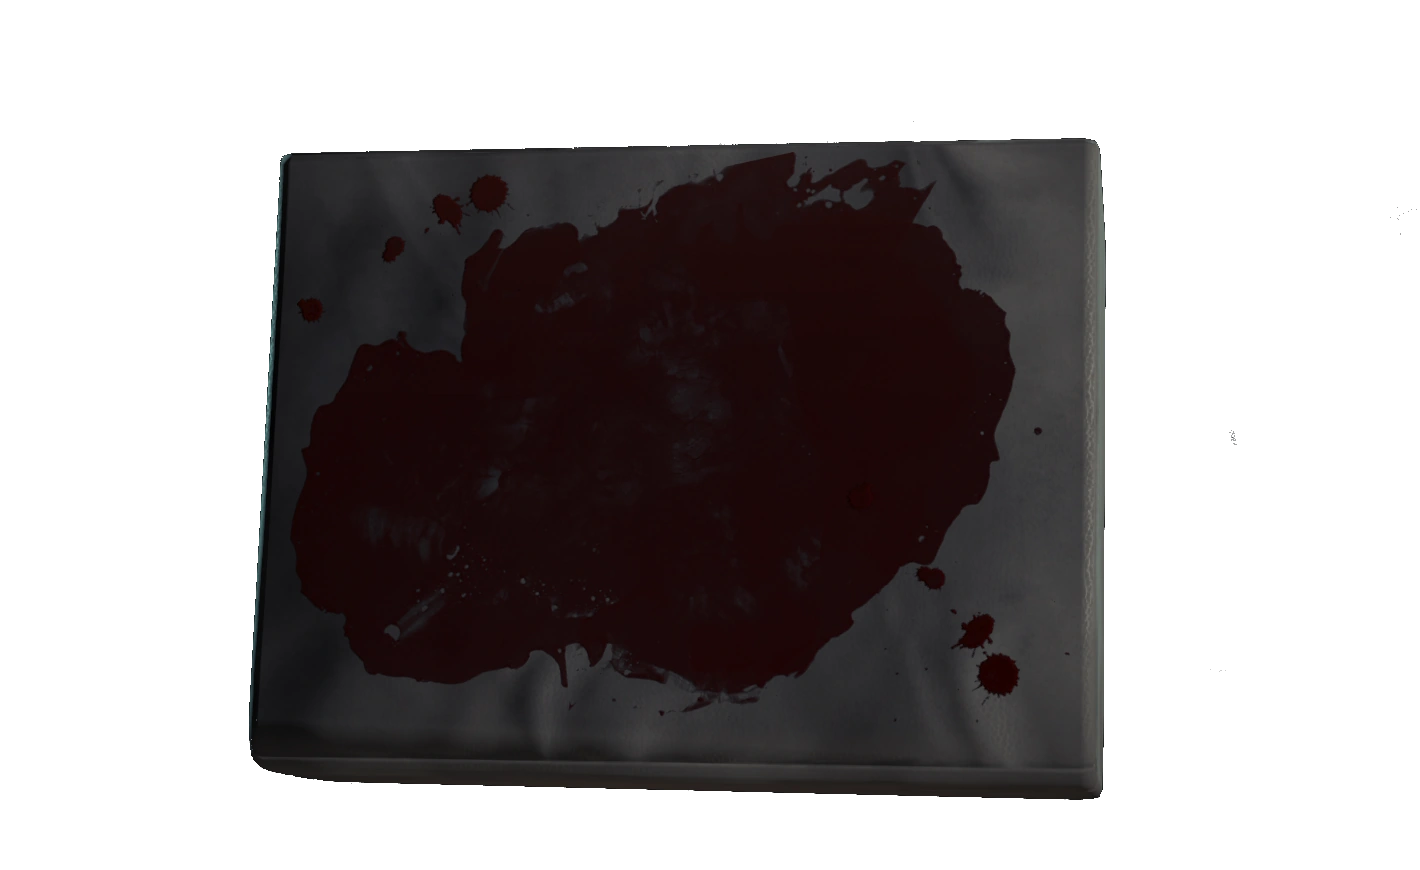
|
Pool of Blood | In the room with the Liam Slater impersonator. | — |

|
Security Keycard | See walkthrough for the objective "Find the Keycard to Catering." | Required to complete the mission objective. |
Notes
- If you used multiple takedowns on some of the guards, the count will not update accordingly, though once all guards are taken out, it will show as complete.