
|
"I once thought I could save the world... now look at it"
— Spoilers for Deus Ex: Mankind Divided follow!
|
|
M12: The Heist is a main mission in Deus Ex: Mankind Divided, and takes place during your second visit to Prague. This mission and M11: Confronting the Bomb-Maker are mutually exclusive in the same playthrough, forcing Adam Jensen to choose one or the other.
To start this mission, visit a metro station once M11: Confronting the Bomb-Maker begins. Once you visit a metro station, Alex Vega will contact you, forcing you to choose which mission to complete.
Summary[]
Objectives & XP Rewards[]
| Objective | Getting Things Done | Ghost | Smooth Operator |
|---|---|---|---|
| Get to the Bank | 500 | - | - |
| Retrieve Vega's Package | 500 | 200 | 200 |
| Access a Restricted Terminal | 3150 | 200 | 200 |
| Use the Corporate Vault Elevator | 3150 | 200 | 200 |
| Enter the VersaLife Vault | 3150 | 200 | 200 |
| Escape from the Bank | 500 | 200 | 200 |
| Meet Miller at the Helipad | 500 | - | - |
| Fly to the GARM Facility | 500 | - | - |
Tablet Collector[]
Objectives[]
Get to the Bank[]
Once you have chosen to infiltrate the bank rather than save the bomb maker, Alex Vega will direct you to the Palisade Property Bank car garage where Janus has left a package for Jensen to collect. Travel to the bank in the Čistá district.
Retrieve Vega's Package[]
Palisade's garage is considered a restricted area, so it is probably best to get the package unseen. There are a number of ways in:
- remote hack the shutters that are blocking the vehicle entrance. If the guards notice the door opening, they will become suspicious.
- hack the door beside the shutters or use the code 5136
- move the rubbish bin next to the door to reveal a weakened wall that can be punched through
- enter through the basement of the nearby Ludvik's Lounge by hacking the locked door and going through the vent. Here there is a door that leads into the parking lot.
- jump on top of the stone sculpture that is in front of the bank to access a vent. In a corner where a police officer is talking to a citizen is a vent on top of the water sculpture. Jump up there and enter that way. The path will drop you near the back of the garage.
The package is in the trunk of a blue car in the right hand corner of the lot. Be warned, if you open the wrong car, its alarm will go off and alert any guards in the area. Also, if you want to move bodies, be careful not to bump them into any of the cars. For some reason Jensen can bump up against them to hide, but if a body so much as taps it, its alarm goes off.
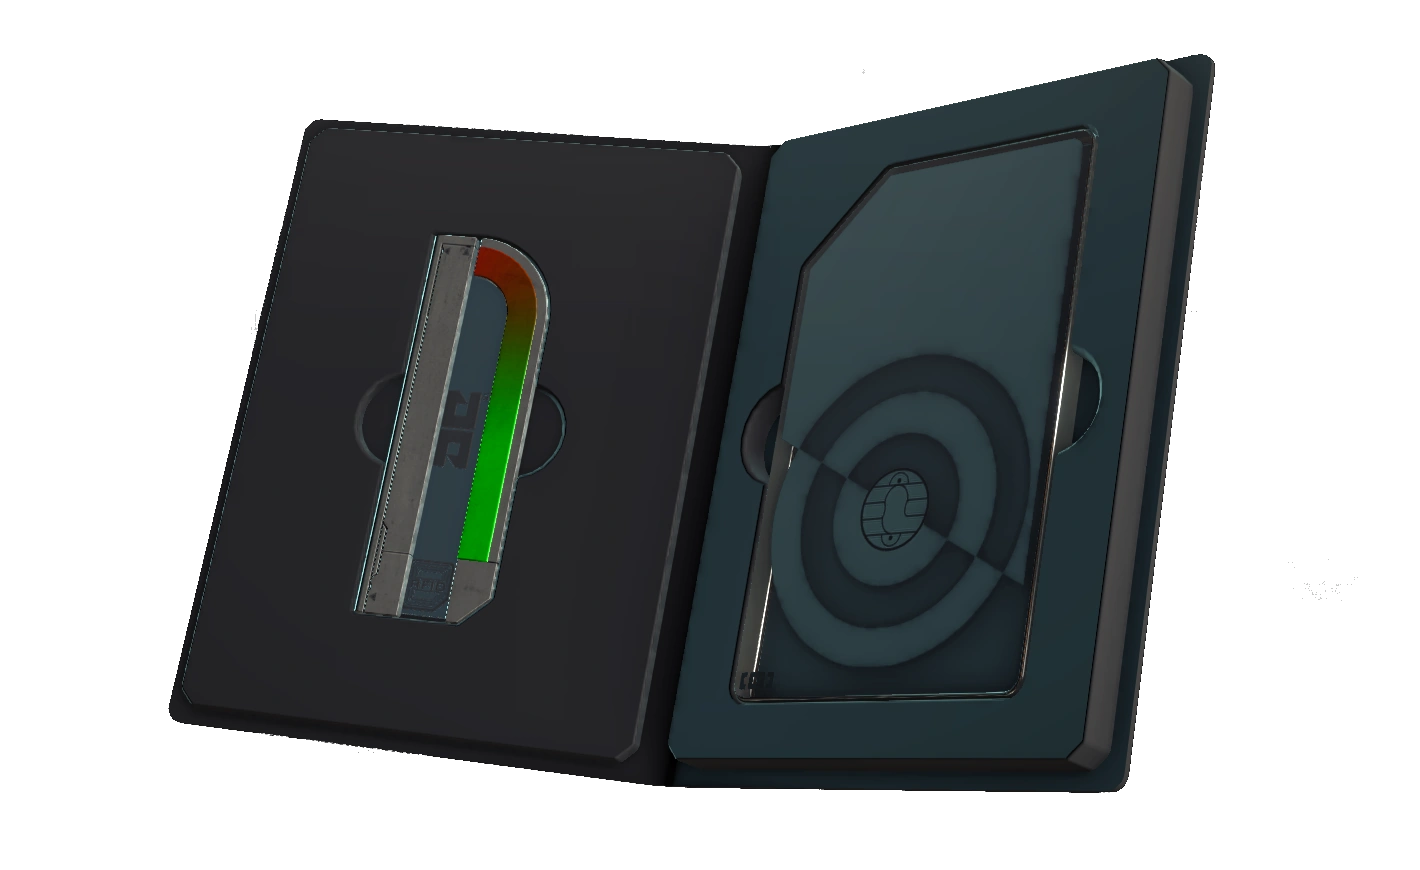
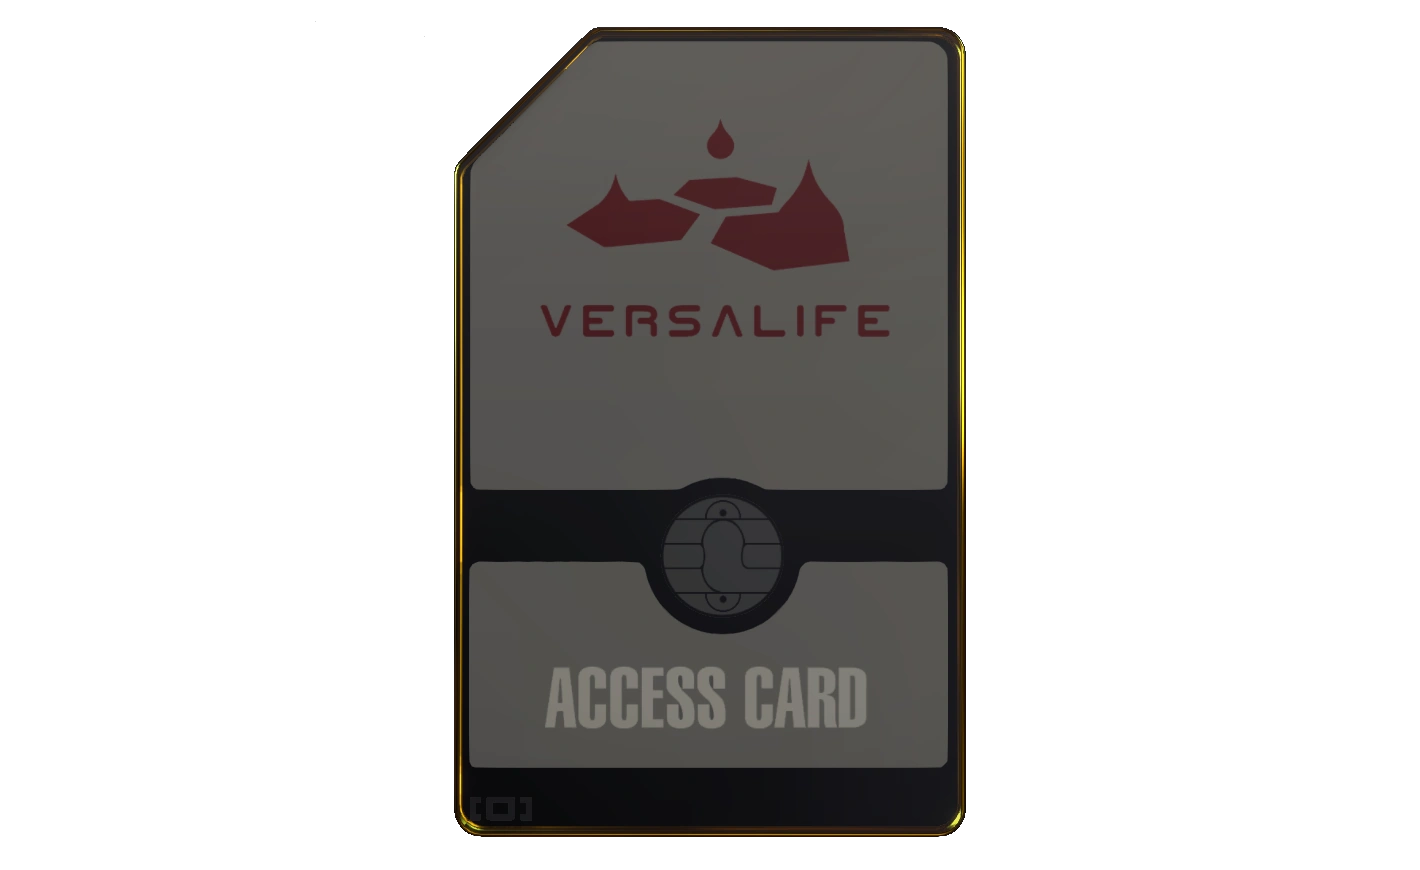
Once you recover the package, you will see it is a blank keycard for Palisade's corporate vaults, and a datastick belonging to Janus. In order to access the vaults, Jensen needs to validate the keycard with the biometrics of an authorized VersaLife representative. To do this, you must get to the CEO's office on the 3rd floor of Palisade.
Access a Restricted Terminal[]
Go inside the Palisade Property Bank. Once you are in, you will need to make your way to the 3rd floor, where the CEO's office is located.
The 3rd floor is a restricted area by default. However, anytime during the second visit to Prague, it is possible to gain permission to access most of the third floor by speaking with account manager Tomas Romanek. To speak with Romanek, first talk to the receptionist. Ask the receptionist about the Executive Safes, and then ask to meet with the account manager. When speaking with Romanek, inquire about opening an account at the bank. Romanek will rebuke you at first, but you may: (1) bribe him with at least 5000 ![]() , (2) persuade him into thinking that you are here to audit the bank's security, or (3) show him Oleg Drego's datastick (found at the location of the "Rich Man Poor Aug" POI). If you successfully deal with Romanek, he will inform you that he will instruct security to let you upstairs. However, due to what appears to be a bug, only the bribe option works fully as intended in granting access to the third floor; the third floor may remain restricted if either of the other options are used. Romanek will also give you an access card to one section of the Executive Safes. The Executive Safes play no role in this mission, however.
, (2) persuade him into thinking that you are here to audit the bank's security, or (3) show him Oleg Drego's datastick (found at the location of the "Rich Man Poor Aug" POI). If you successfully deal with Romanek, he will inform you that he will instruct security to let you upstairs. However, due to what appears to be a bug, only the bribe option works fully as intended in granting access to the third floor; the third floor may remain restricted if either of the other options are used. Romanek will also give you an access card to one section of the Executive Safes. The Executive Safes play no role in this mission, however.
If you gained access to the third floor, simply take the stairs near Romanek's office. The CEO's office will still be a restricted area, however.
Alternatively, you can enter the CEO's office through stealth or force. If you have previously completed SM05: Samizdat, and agreed to find information on Picus, this objective will be familiar and easy to do as you should have all the necessary access cards. As with the parking garage, there are multiple ways to get to the restricted 3rd floor. The easiest way is to look for an elevator keycard that allows you to visit the restricted floor. One of these cards can be found in the Account Manger's office in the lobby area. You will need to access the door without being seen by either hacking, using a multi-tool, or the code (0831). Once card is in hand, walk behind the boardroom on the main floor and use the elevator to go up. Note: if you suddenly change your mind and want to do Confronting the Bomb-Maker instead, you will have to switch BEFORE you head up to the 3rd floor. The office you are looking for will be directly to your left when you arrive via the elevator. There should only be one guard in this room, and is easy to avoid. Go up the stairs towards the office and hack the door or use the code 0211.
On the CEO's desk (the right one), there is a biometric terminal beside the computer. Interact with this to create a valid VersaLife keycard to access the vault. Before leaving the office, you may want to access the hidden area if you have not done so already. This opens up an alternate route to the next objective. To get into the area, you need to solve the block puzzle in the office by interacting with it in this order: raise, turn, raise, turn, turn, raise. The area should now be unlocked. Alternatively, sneak back down to level 2 using the elevator, or an alternative route if you prefer. A better investment of time is to close the office door and hit the door next to the puzzle with typhoon. Two hits usually blow it, but sometimes a third's needed.
Use the Corporate Vault Elevator[]
To get to the vaults, you need to bypass the guard and laser grid at the far end of the lobby area. The elevator to the corporate vaults is just behind this. If you have the Glass-Shield Cloaking System, you can activate it and sneak through the lasers and onto the elevator. If you chose to access the secret room in the CEO's office, simply go through the vent and it will lead you directly to the elevator. Make sure to move quickly, as sometimes a citizen will panic if they spot you in the restricted area before the vault elevator.
Enter the VersaLife Vault[]


Annotated map of the lower levels of the bank
You will come to another security area before you can access the vault. The easiest way to get around all the guards, cameras, and laser grids, is to use the Klipspringer Jump Mod and either a multi-tool or have level 5 hacking. You will see two guards talking up on a balcony. Make your way down, then turn left and hack or use a multi-tool on the level 3 door, then go halfway up the stairs. Jump up onto the ledge and you will see a vent cover behind the sign. Now all you have to do is crawl around in the upper area and make your way to the vault door. Taking the first right will take you to a dead terminal that you can turn on with a biocell if you want to use the turret it is connected to. All the way on the other side (mind some open areas that can make you drop down into the room below), you can drop into a server room with a security terminal and turn off cameras, lasers, and robots. There is a small vent tunnel in the back of the ceiling area where, halfway in, is another path. Take it to reach the level 5 panel. Use a multi-tool or hack it, then go through. You should now be past all the security and just have to make your way to the door. Pass through it, scan the keycard on the scanner to the right, and VersaLife's vault will descend. When you enter, a cutscene will play out.
Escape from the Bank[]
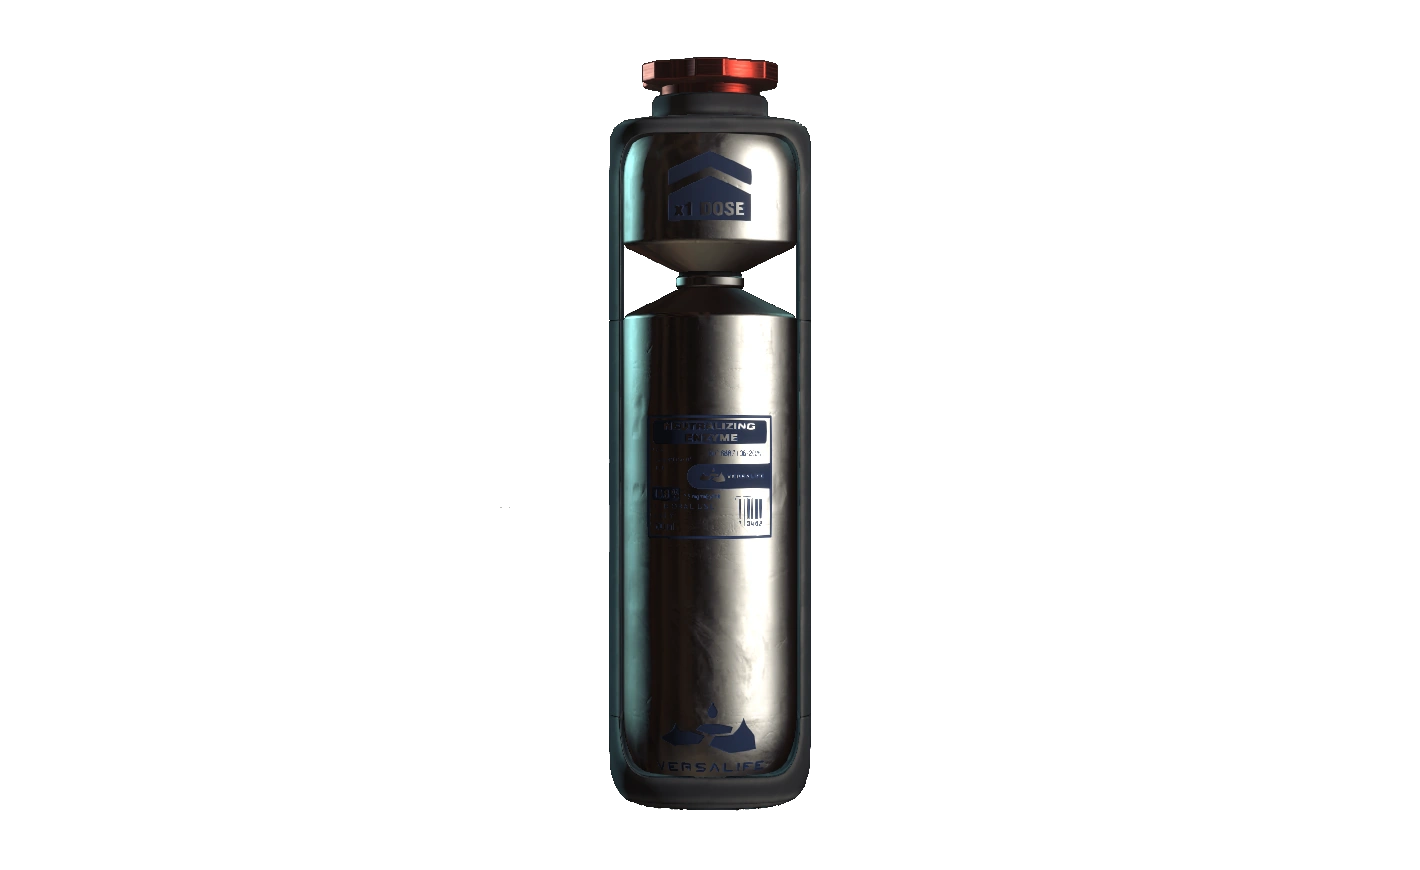
After the cutscene, make sure to look around. The pocket secretary has the password for the terminal and if you are doing Tablet Collector, make sure to read the eBook. However, what you really want is in the vault's safe. Unlock it and you will find the Orchid cure, which will be very handy in the final missions, as well as five Neuropozyne vials. Now, once you have gathered what you wanted from the vault, exit and climb up the ladder on the side of it and hit the switch to retract the vault. Now all you have to do it make your way to the top of the area. If you found the Picus Vault Keycard, the Tarvos Vault Keycard, and the TYM Vault Keycard, you can access these vaults as you make your way up. You may need to deploy some of the vaults to reach the top, which can be done by hacking the panels next to them, or remote hacking the side of the vault facing outwards. Eventually you will reach a door at the top that will lead you back to the inside of the parking garage. Exit the garage however you see fit and Jensen will contact Miller, who does not sound too pleased that Jensen is not focusing on the train station bombing and to meet him at the helipad to explain.
Meet Miller at the Helipad[]
Head to the helipad, where Miller is waiting for Jensen to explain himself. Go with whichever path you want and eventually he will agree that going to G.A.R.M. is a good next move, but tells Jensen that if he sees any signs of activity to not engage and instead notify him.
Fly to the GARM Facility[]
After Miller clears you to fly to G.A.R.M., talk to Elias Chikane to fly out. If you are not ready, you can say not yet. Make sure to finish any side missions before heading out.
Story items[]
The following story items are associated with this mission.
| Story Item | Acquisition | Use | |
|---|---|---|---|
|
Package from Janus | In a car in the Palisade parking garage. | Required to obtain the VersaLife Vault Keycard. |
|
Janus Data Rod | Automatically obtained when Janus' package is used to create the VersaLife Vault keycard. | — |
|
VersaLife Vault Keycard | Retrieved from the biometric terminal on the CEO's desk when Janus' package is used. | Required to complete the mission. |
|
Orchid Neutralizing Enzyme | Inside the safe in the VersaLife vault. | Unlocks interactions later in the game (for details, please see the main article for this item). |
Notes[]
- Entering Pilgrim Station through the sewers beneath the Dvali Theatre will not trigger Alex Vega's dialogue that begins this mission. Not true since the May 2017 patch. Now it occasionally triggers it.
- All 3 cards can be found before doing this mission. The TYM card can be found in Madame Photographe's apartment in the Lilioma Courtyard Apartments during the second visit to Prague. The Picus keycard is in employee Laura Vale's apartment in the Libuše Apartments (#94), and Tarvos is in the basement of Sobchak Security.
- A secondary biometric terminal is located in the security office on the third floor.